
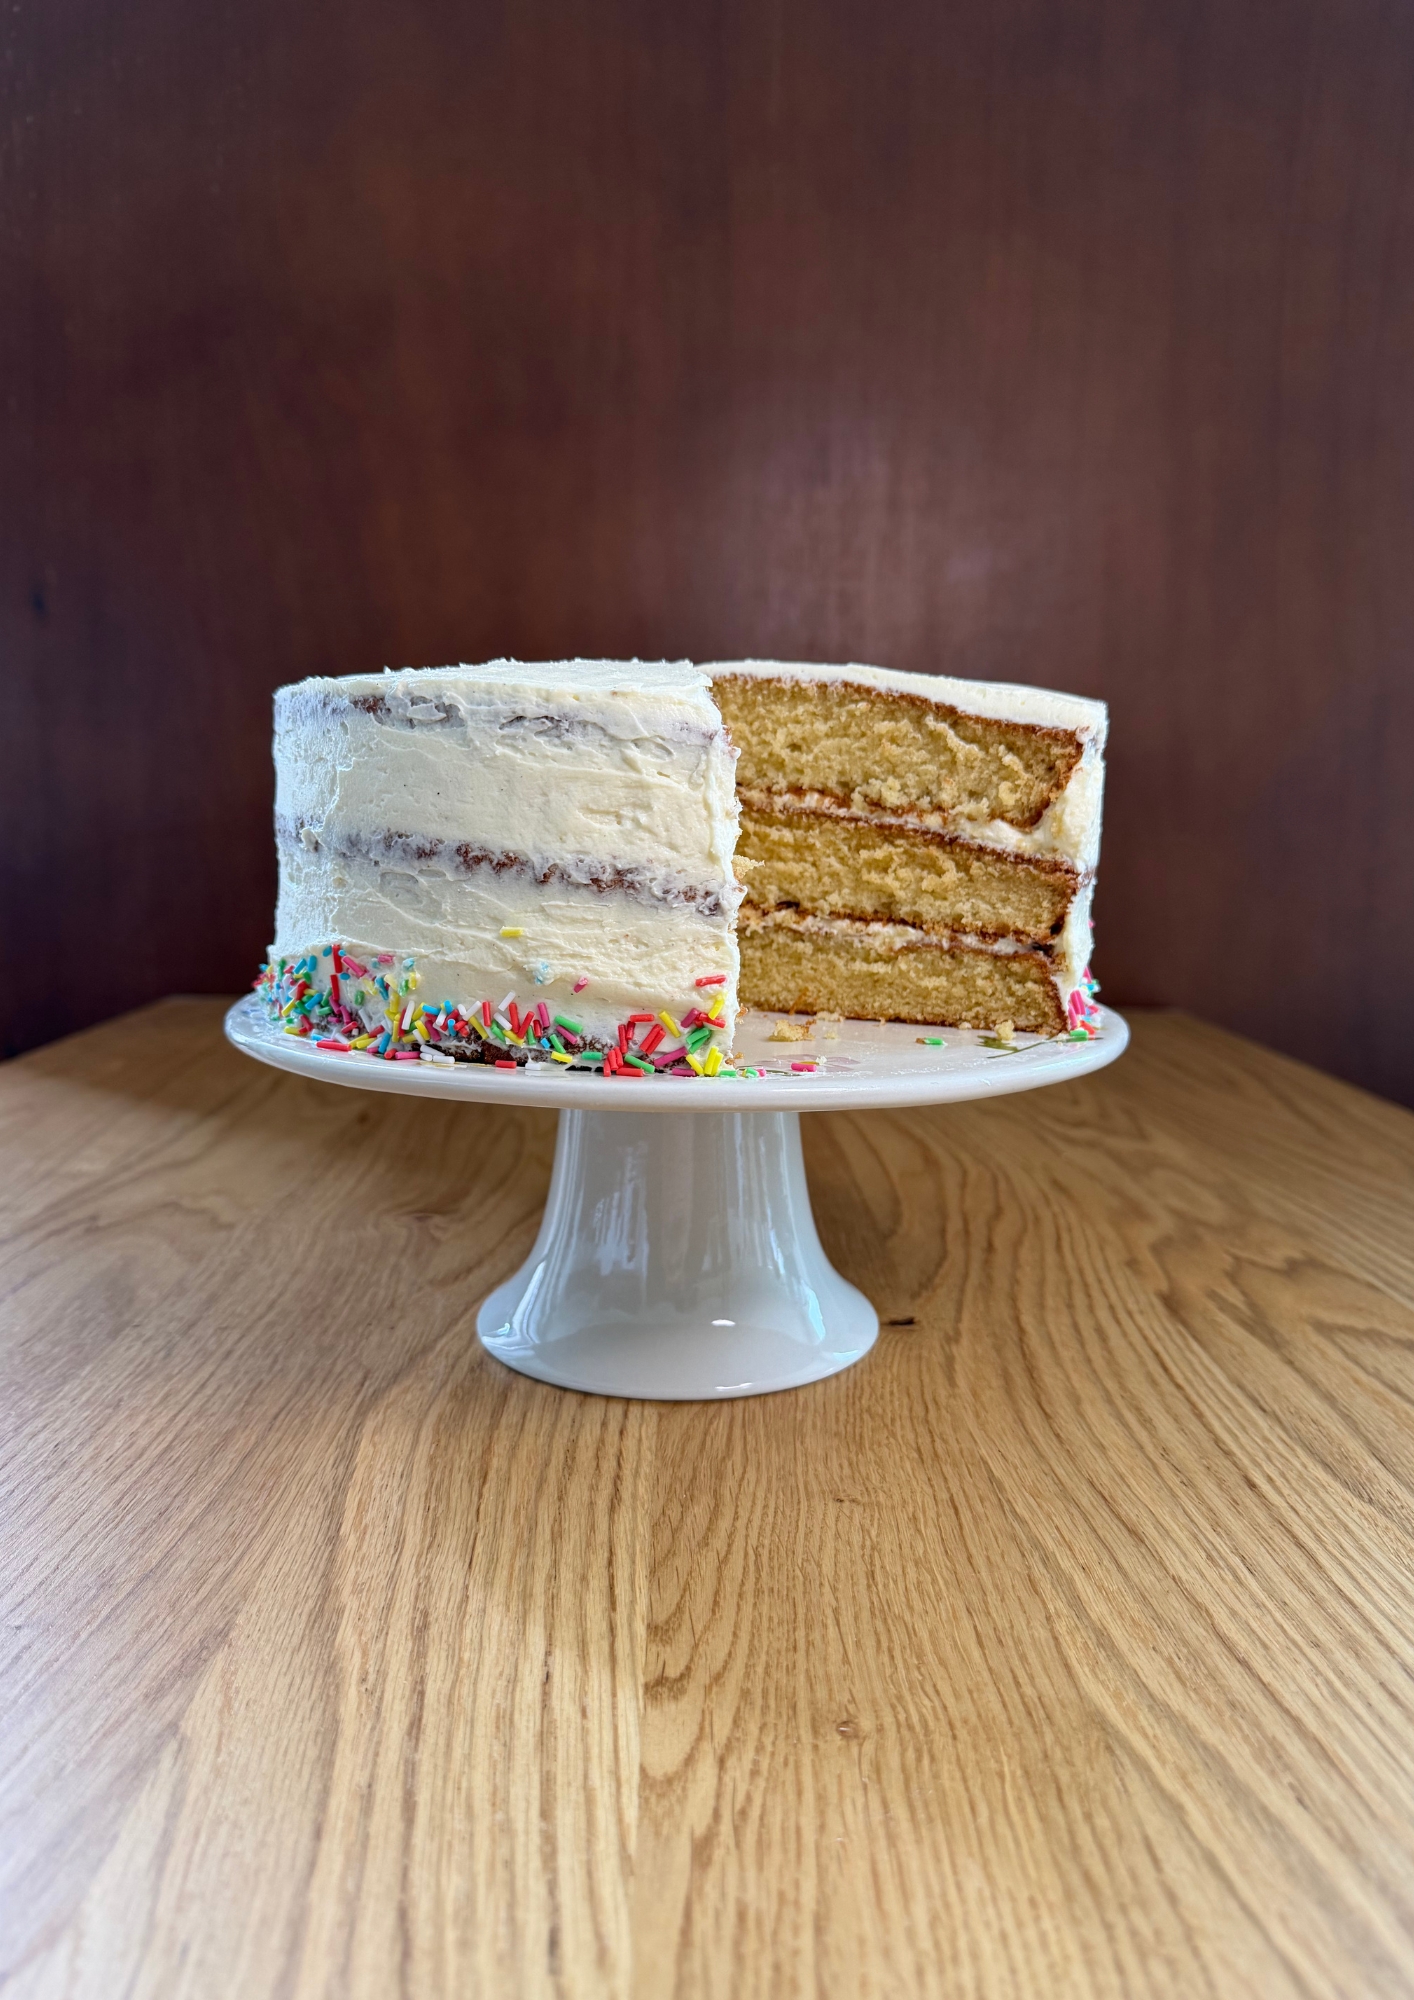
Super Moist Vanilla Cake
This is the moist, tender vanilla cake recipe you’ll come back to again and again. With a soft crumb and a light, creamy frosting that's not too sweet or overly buttery, it's the perfect base for a (birthday) layer cake. Dress it up with your favorite toppings or keep it simple, it’s the perfect crowd pleaser and -dare I say- a sophisticated cake.
 Stand mixer
 Besides Bread
Super Moist Vanilla Cake
A delicious vanilla cake you keep coming back to. Easy to make and with a heavenly frosting that contains WAY less sugar than standard buttercream.
Ingredients
- For the cake
- For the frosting
Method
Start with making the base (a roux) for the frosting. In a medium saucepan on low/medium heat, add the flour and sugar. Stir well and cook for about 2 minutes. Now slowly add the milk in several additions, whisking well after each one. Once all the milk is added, the mixture should be smooth. Keep whisking, the mixture should start to thicken. This should take about 5 to 10 minutes, depending on your stove temperature. Watch for lumps forming, especially on the sides and bottom of the saucepan, and whisk them out as you go. When the consistency of the mixture is thick, pudding-like and your whisk leaves a trail, you’re done. The final consistency of your frosting depends on how thick you cook this mixture. The thicker, the better your frosting will hold shape. If you’re not sure whether your roux is ready, I’d recommend continuing to cook it for another 2-ish minutes, as a thicker mixture makes for a frosting that’s easier to work with.
Take your saucepan off the heat and scrape the mixture in a bowl. Cover with a piece of cling film and press it directly on top of the mixture, preventing a skin from forming. Let cool until the mixture is at room temperature. In the meantime, start making the cake layers.
Preheat your oven to 375°F (190°C). In the bowl of your stand mixer, add the dry ingredients and mix. Add the room temperature butter cubes and with the flat beater attachment, mix the butter and dry ingredients on low speed until a sandy mixture forms, about 2-3 minutes (see note 2) Then add the sugar and mix again at low speed, for about 1 minute. With the mixer running, slowly add the oil, then the eggs, egg whites and the vanilla extract. Mix until a thick batter forms, about 2-3 minutes total. Stop the mixer and scrape down the sides and bottom of the bowl a few times, making sure all ingredients are well incorporated.
While the mixer is still running, add the buttermilk in about 3 additions. The mixture should now be velvety and smooth.
Divide the mixture evenly into 3 8-inch (20 cm) lined baking pans. I like to grease the bottom and sides of all pans, and then place cut-out round pieces of parchment paper on the bottoms. If you don’t have 3 pans, just bake them one at a time. Bake for 30 minutes, or until a toothpick inserted into the center of the cake comes out clean. Let the cakes cool in the pan for 5 minutes before flipping them onto a cooling rack.
Let the cakes cool completely. While baking and cooling the cake layers, make the frosting. With a hand mixer or your stand mixer with the flat beater attachment, beat the butter on high speed until the color is light and the texture is fluffy. This usually takes 4-5 minutes. Make sure to scrape the sides and bottom of the bowl with a spatula a few times to make sure all butter is beaten.
When the butter is ready, start adding the roux you made in step 1. While mixing on high speed, add 1 tbsp at a time. Keep mixing until all of it is incorporated, then add vanilla and salt. Scrape the sides and bottom of the bowl and mix one last time. The frosting should be light and smooth.
Now it’s time to assemble! Start by placing the first cake layer and adding your frosting. I like to measure my total amount of frosting and then dividing by 5 so I know how much frosting to add on each layer, and then have 3 parts of frosting left to cover the top and sides of the cake. Add your next layer and frosting, and add your final layer. Now coat the whole cake in the leftover frosting. Decorate with whatever you like, let your creativity run free. I decorate this cake usually with funfetti sprinkles, but another favorite of mine is raspberries, their tartness cuts through the sweetness of the cake nicely. This cake stays soft and moist for about 4 days when kept at room temperature. Enjoy!
Note 1: If you don’t have cake flour available to you or you just don’t have it in your pantry at the moment, you can easily make your own by mixing AP flour with cornstarch! I use these ratios:
125g AP flour + 15g cornstarch
This means that if you want a total of 450g cake flour, your ratios should be 402g AP flour mixed with 48g cornstarch. Whisk well before using, as it is important to not have any lumps of cornstarch left in the flour. If you want to make sure there are absolutely no lumps left, you can sift the flour-cornstarch mixture once or twice before using.
Note 2: For this cake, I use the reverse creaming method. With this method, the dry ingredients are coated in softened butter first, rather than creaming the butter and sugar before adding the dry ingredients. It works especially well for layer cakes, because the fat from the butter coats the flour, which limits gluten formation more than the normal creaming method. This results in a crumblier, shorter texture for your cake, and a flatter top after baking, since you incorporate less air into the mixture at the start, so the cake rises more evenly.